It’s widely known that PVA sponges are one of the most absorbent sponges available, but it’s amazing to see just how much water one can soak up. Nobody is ever going to use one to move liquid from one cup to another, but by soaking the water out of a glass, it quickly illustrates the incredible absorption power that this tool offers. When a single sponge can lock in the contents of a full vessel, and contain it without a drip escaping, you know that it will also be incredible when wiping counters, drying spills, detailing vehicles, washing dishes, or cleaning up messes left behind by children and pets.
How Much Water Can It Soak Up?
In order to quantify the ability of our PVA sponge, we resorted to the use of a simple experiment. We would measure the amount of water that the sponge could hold by testing to see how much was removed from a 16oz. glass.
The whole process was finished within a short amount of time, but the pictures below break it down into several steps so that you can see the sponge at work.
Our Hypothesis:
It’s common knowledge that PVA can absorb more than cellulose or natural sponge material, so we were pretty sure that the PVA block would soak up most, or all, of the water in the cup. Prior to starting the experiment, it was our hope, and our goal, to try to prove that one PVA sponge block could soak up 14oz of water and hold it without dripping.
Step By Step Absorbency Test
While other types of sponges would have trouble soaking up half as much water, we were pretty sure that our test would prove our hypothesis. Follow the steps and images below to see the sponge in action, and to see just how much water it can hold.
The Stuff we used:
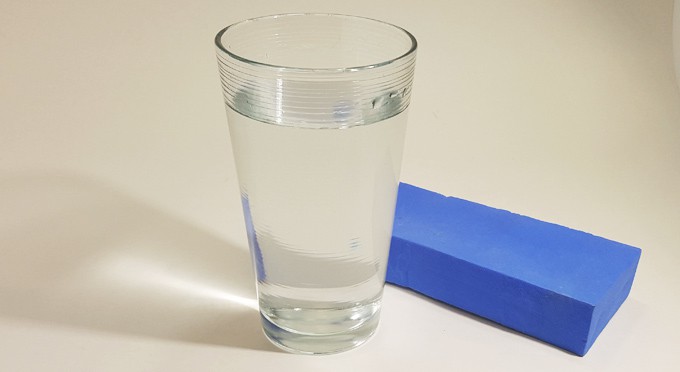
- (1) glass of water (16 oz. glass with 14 oz. of water)
- (1) PVA sponge (dry)
Step 1: Prepare For The Test
To begin, we gathered a dry sponge, and a glass full of regular tap water. To prepare the sponge for the test, we made sure that it was bone dry, and void of any moisture, by letting it air dry for several days. The glass was filled with 14 ounces of room temperature water. PLEASE NOTE: The PVA sponge used is higher quality than most, so do not expect the same results unless you also match the quality of material.
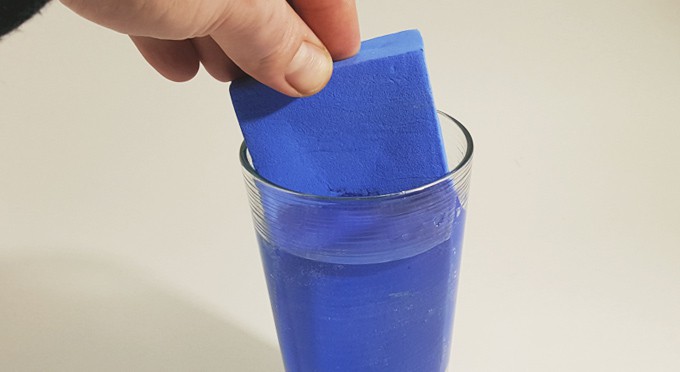
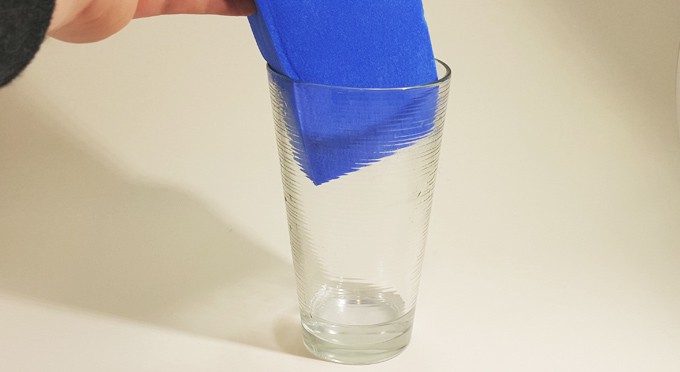
Step 2: Make Contact
To start the absorbency test, we simply inserted the PVA block into the cup of water. As soon as the PVA material comes in contact with moisture, it will begin sucking it up. Several ounces of water are soaked up almost instantly as the sponge is placed inside the glass. You can see the lighter blue color darkening as the water wicks upward. The dark color indicates material that is saturated with water. We did not squeeze the sponge or activate it in any way. Upon contact with the water, the material began wicking the moisture immediately.
Step 3: Press Down To Speed The Process
To speed things along, and to aid the process, we pressed down slightly on the sponge in order to expose more surface area to the water. The action also causes the sponge cells to expand and contract, and this results in a vacuum-like action. Each time you press or squeeze, moisture will soak into the sponge more rapidly. It has only been a few seconds, and the sponge isn’t in the cup all-the-way, but it has already soaked up several ounces of moisture.
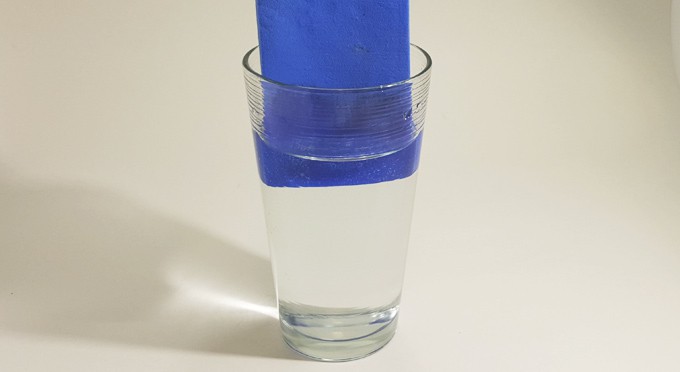
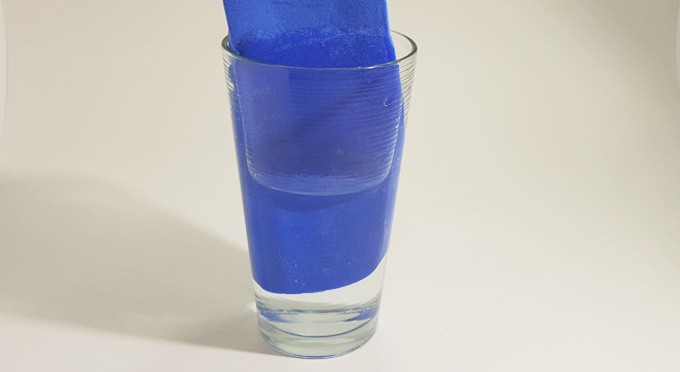
Step 4: Halfway There
At this point, about 50% of the sponge is saturated, and although the glass still looks more than half way full, most of the water is now locked into the PVA material. You can see how the material has darkened in color, but it has also expanded slightly, it has taken on a smooth texture, and it is soft and flexible if you touch it. The dry part at the top is still light blue in color, totally dry and rock-hard.
Step 5: Soak Up The Last Drops
As the sponge soaks up water, the rock-hard block softens to become squishy and pliable. As this takes place, it slides more easily into the narrow base of the glass to begin soaking up the last of the water. At this stage, we pressed down slightly to move the squishy block to the base of the cup in an attempt to soak up the last bits of water.
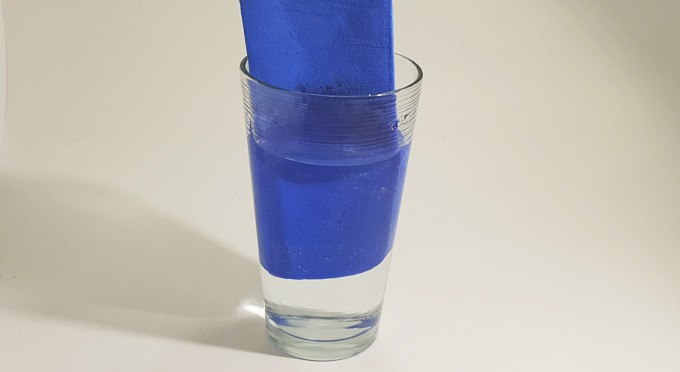
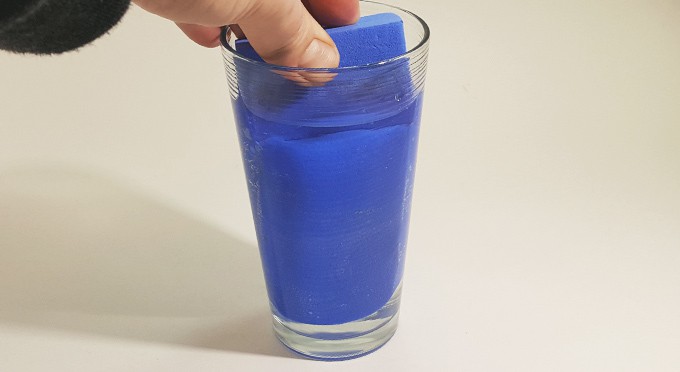
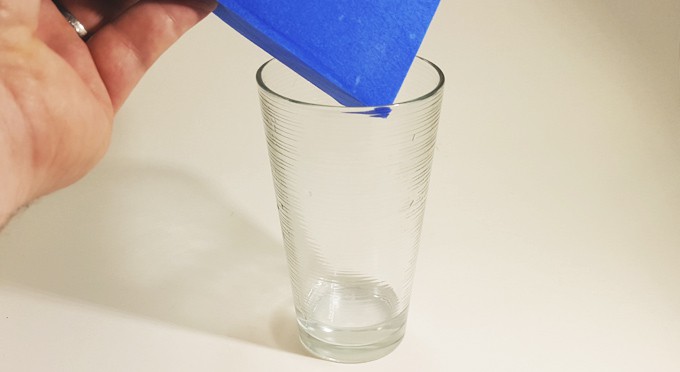
Step 6: Hold In Place. Let The Sponge Work
Thanks to the dense cell structure, moisture wicks up the PVA material quickly and efficiently. You don’t need to flip[ it over, or force the dry side to come into contact with the water. Just hold in place, and the liquid will travel up and saturate the full sponge with time. At this point of the absorbency test, the base of the sponge has almost reached the bottom of the glass, and the sponge is really darkening as moisture continues to work it’s way upward to fill the sponge.
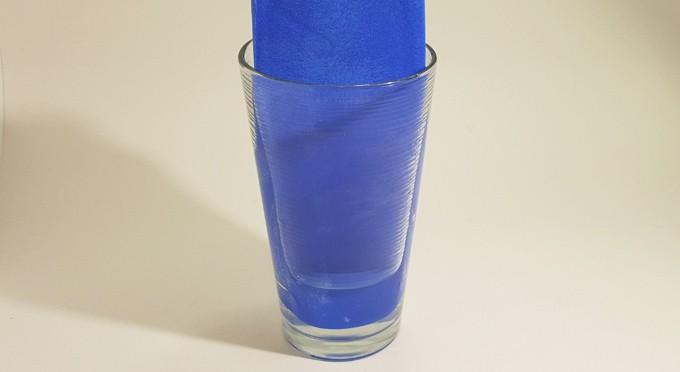
Step 7: Give It One Last Nudge
To finish the job, and make sure the sponge is fully saturated, and holding the max amount of water, we pressed down one more time. One last nudge presses the sponge closer to the bottom, but the large size and fully saturated material made it difficult to press it down any further because of the narrow base of the glass. If pressed all the way to the bottom, the sponge may have absorbed more, although probably not much.
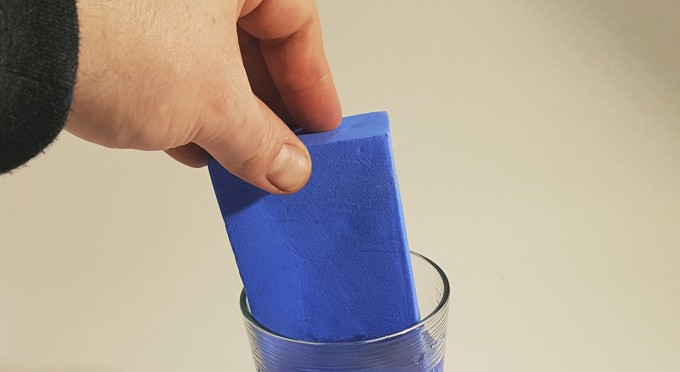
Step 8: Remove The Sponge
Once we soaked up as much water as possible, we pulled the sponge from the cup to examine it. Now fully saturated, the sponge was dark in color, and much more floppy. Although it had soaked up an incredible amount of water, it had not surpassed it’s capacity, and to demonstrate that, the sponge was immediately pulled from the glass. No care was taken to make sure no water escaped because such care was not required. With a wider container, or one with more water, it is reasonable to assume that we could have soaked up a little bit more water. As the sponge pulled from the cup without any drips or leaks, we could assume that it was near capacity, but not at or exceeding it.
Step 9: Fully Saturated Without Any Drips
Upon lifting the sponge, some water remained in the bottom of the glass, but more than 12 ounces had been soaked up in less than a minute.
Step 10: Remove The Sponge To Examine The Results
Despite the enormous amount of water locked into the sponge, not one drop fell as the sponge was removed from the glass. Despite slightly squeezing it, and gripping it with our hands, the absorbed water remained locked in tot he sponge as it was removed from the cup.
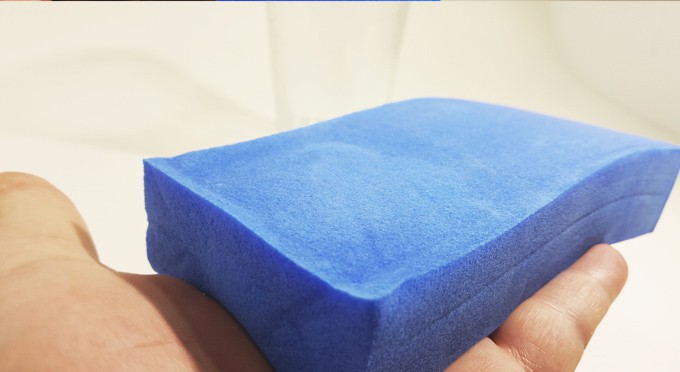
Step 11: Feel The Difference
After the sponge was removed from the cup, we examined it to notice it was much more heavy, and also very flexible and floppy. It went from lightweight to heavyweight in just a few moments. As you can see, the once dry block was now fully saturated with the water from the glass. When held in hand, one could feel the weight and temperature of the water, but it did not feel wet like a normal sponge or rag does when it’s equally saturated. There was no leaking or dripping, and the surface did not feel watery.
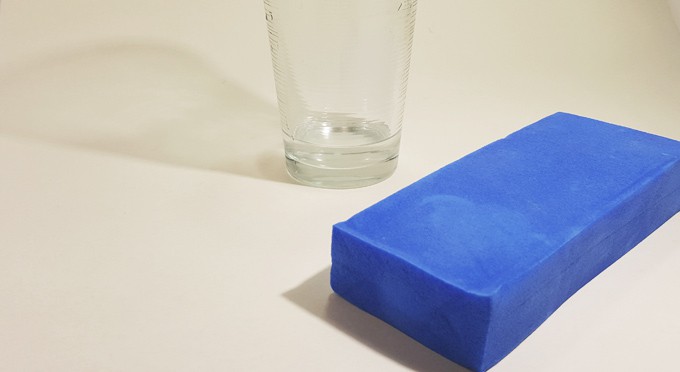
Step 12: Moisture Lock Test
It’s one thing to soak up water, but it is another thing to lock it in, and hold it without drips or leaks. To test for moisture lock, we left the water in the sponge, and set it next to the empty glass. While still holding more than 1 1/2 cups of water inside, we set the sponge down, and the moisture remained locked in. No puddles, and no moisture damage to the white, poster board material it was sitting on.
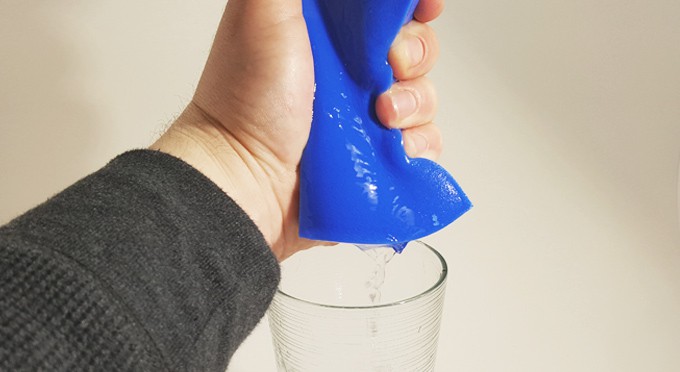
Step 13: Wring It Out
To finish the test, and to show that the water really did get locked inside, we proceeded to squeeze out the water, and return it to the cup. Upon giving the sponge a good squeeze, the water was quickly and easily released back into the cup.
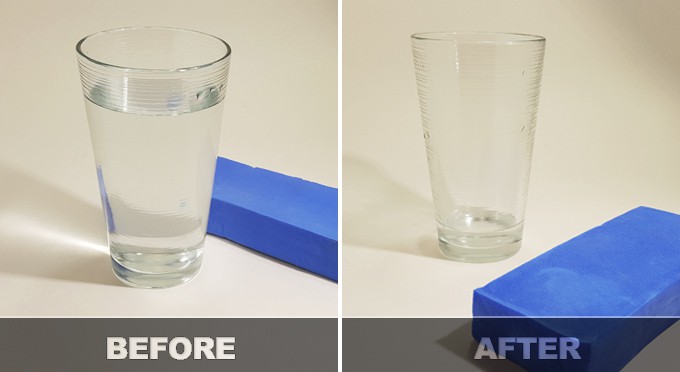
Before and After
The picture on the left shows the sponge dry and rock-hard, prior to the experiment. Notice how it looks lighter in color, thinner, and more rigid. In a matter of seconds, it was able to absorb an amazing amount of water as evidenced by the picture on the right. After the liquid was soaked up, the sponge expanded slightly, darkened in color, and became much more floppy and pliable.
The PVA Sponge Absorbency Test Results:
More than 12 ounces of water were soaked up in less than 60 seconds. Once soaked in, that same amount of water remained locked in with no drips or leaks.
Who Cares?
As stated at the outset, nobody cares about sucking the water out of a cup, but a super absorbent sponge can come in handy in a number of circumstances.
When boating, you can quickly dry surfaces for safety, cleanliness, and maintenance, and when washing your car, you can dry the surface to a spot-free shine like a pro. Use one to eliminate puppy pee after an accident, or a spilled beverage due to crazy kids. Dry flooded areas and absorb drips from leaky appliances, or wipe counters and clean big messes with ease. The applications are endless for this powerful tool because the incredible absorption power is also coupled with an amazing ability to lift up and lock in dirt, hair and other debris as you wipe.
Quality Does Matter
Not all PVA is created equal. In fact, most similar sponges are created inferior to this one. We know because we tested them. If you try to soak up water with a lower quality sponge, it won’t work as fast, or hold as much, and it may not be guaranteed to lock in the moisture. Also, lower quality PVA is not as good at cleaning in addition to drying. The extra dense, high quality material used in our sponges guarantees performance and longevity, and it is proven to work better than other options.
If you want to guarantee that the sponge you are using offers the same performance as the pictures above, don’t just get one that looks the same in pictures on the internet. Choose a tested tool with guaranteed performance, and get it from us.


 Ordering Info
 Customer Service
 Follow Us
 Search For Stuff
 Find Us
 Call Us
 Pay Us
0 Comments so far.
Use the form below to add your own thoughts or questions. Scroll down to read what other people had to say.