 If you’ve ever been apple picking in Upstate New York, chances are that you’ve also encountered an overly enthusiastic employee entertaining children with a story about the magic contained in each apple at the orchard. As it turns out, when you slice an apple like nobody really does, you get sections with a star in the middle. The core that is usually discarded, is actually totally edible, and when the seeds are removed, the empty spaces are perfectly aligned in a five point star pattern. Just slice the apple horizontally instead of vertically, and each disc-shaped slice will reveal the magical goodness contained inside each piece of fruit.
The lame story and fun looking slice is a great way to get kids interested in growing and picking their own produce, but it’s also the basis of our All Star Apple Crisp Recipe. Not only does it look cool, when paired with the right kitchen tools, this mystical way of slicing an apple also eliminates the most annoying part of making apple crisp, and speeds up the process too. It can take forever to section enough apples with a knife alone, but when you use a mandolin instead, you can reduce a dozen apples to a pile of slices in just a few minutes, and you’ll guarantee an even thickness to improve consistency after baking.
Maybe it’s the magic inside, or maybe it’s the uniform slices and perfectly crisp topping, but one thing is for sure, when you follow the recipe below, and use large apple slices with star-shaped centers, the results will be pretty amazing.
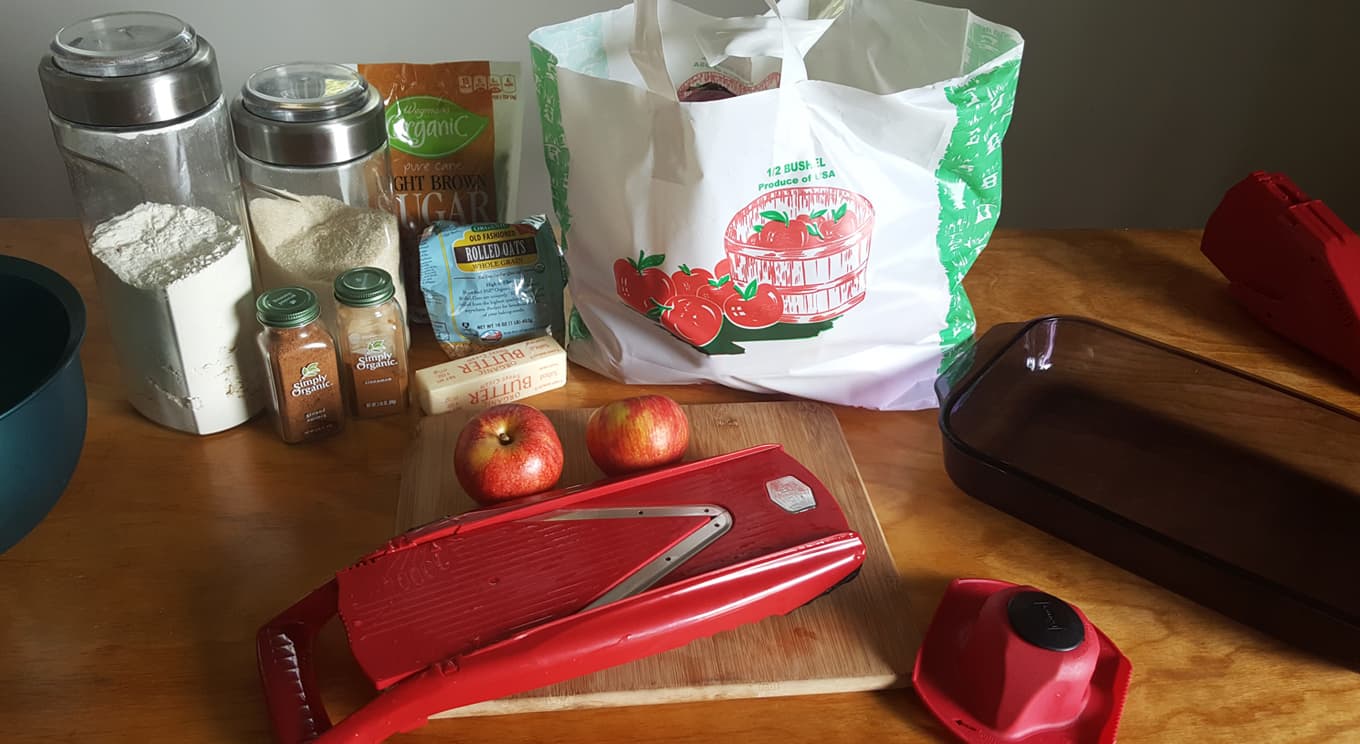
Stuff You’ll Need
- slicer or knife and cutting board
- peeler
- rectangular baking pan (9 x 13)
- measuring cups and spoons
- butter knives
- mixing bowl with lid
Ingredients To Gather
Stuff for the Filling
- 8 – 10 apples
- 4 Tbsp. white sugar
- 3/4 tsp. ground cinnamon
Stuff for the Topping
- 1 1/3 cup brown sugar
- 1 1/2 cup oats
- 1 1/2 cup flour
- 2 tsp. ground cinnamon
- 1/2 tsp. ground nutmeg
- 3/4 cup cold butter
Oven Temp
Preheat to 350 degrees.
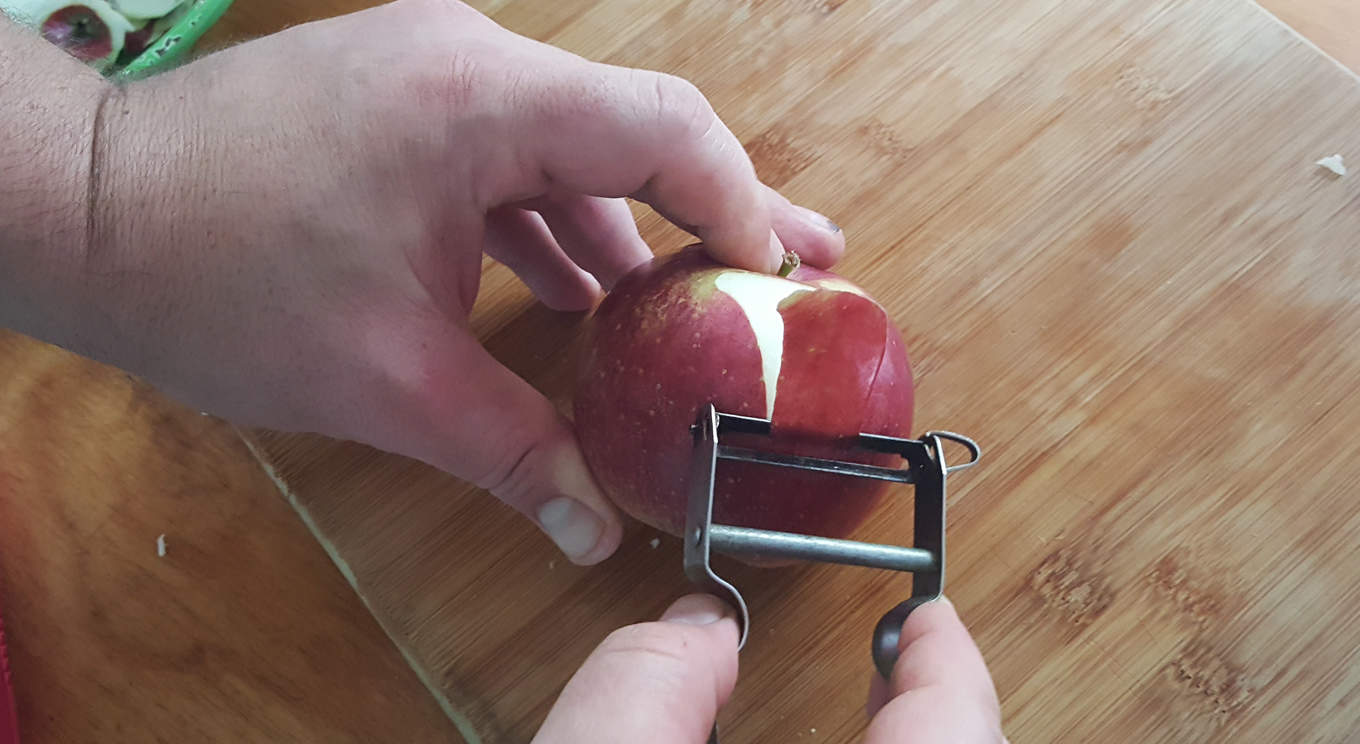 Step 1
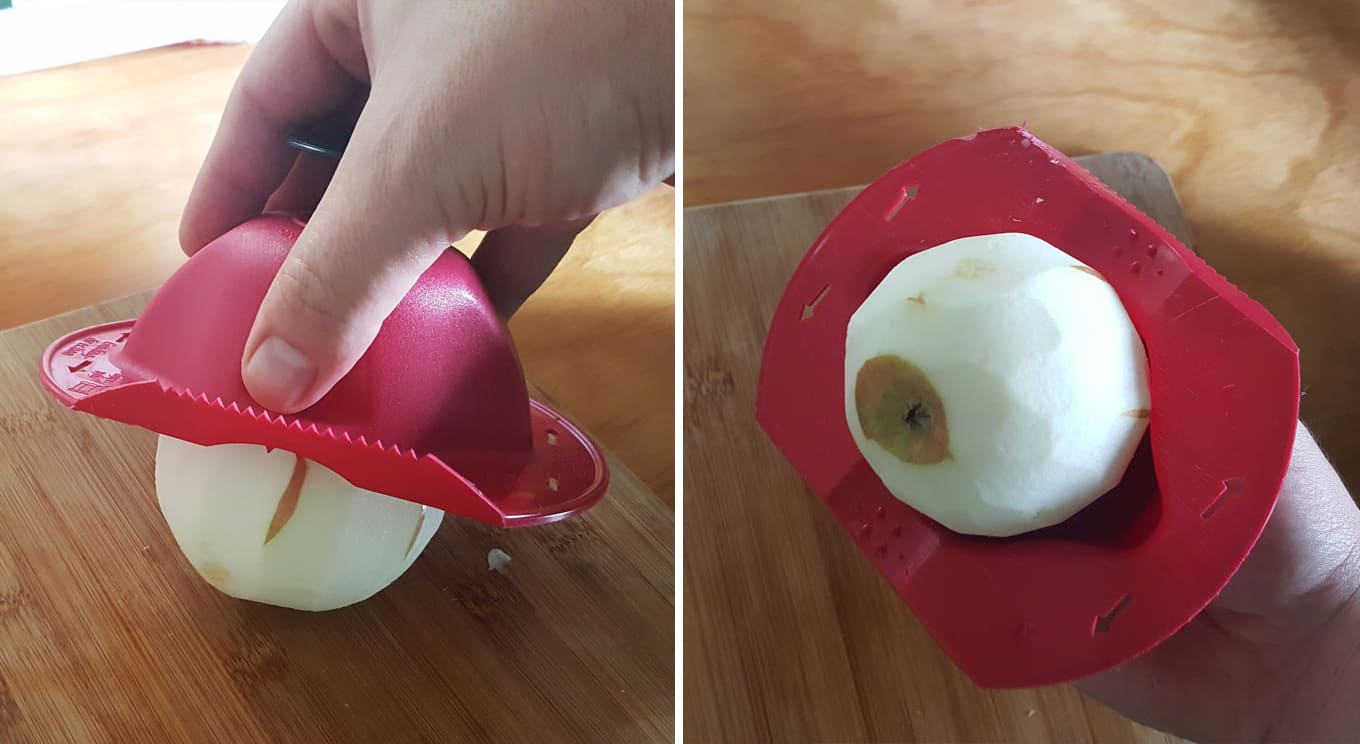
To begin, you’ll need to gather 8-10 apples and then remove the skin. In the picture above, we’re using a Star Peeler [1] which makes the job easy due to the sharp blade and wide peels, but any other tool will also work. With the tool pictured, just apply light pressure and maintain a gentle grip to glide across the surface and lift off the peel. By pressing down lightly, you can let the blade do the work, and avoid removing excess fruit.
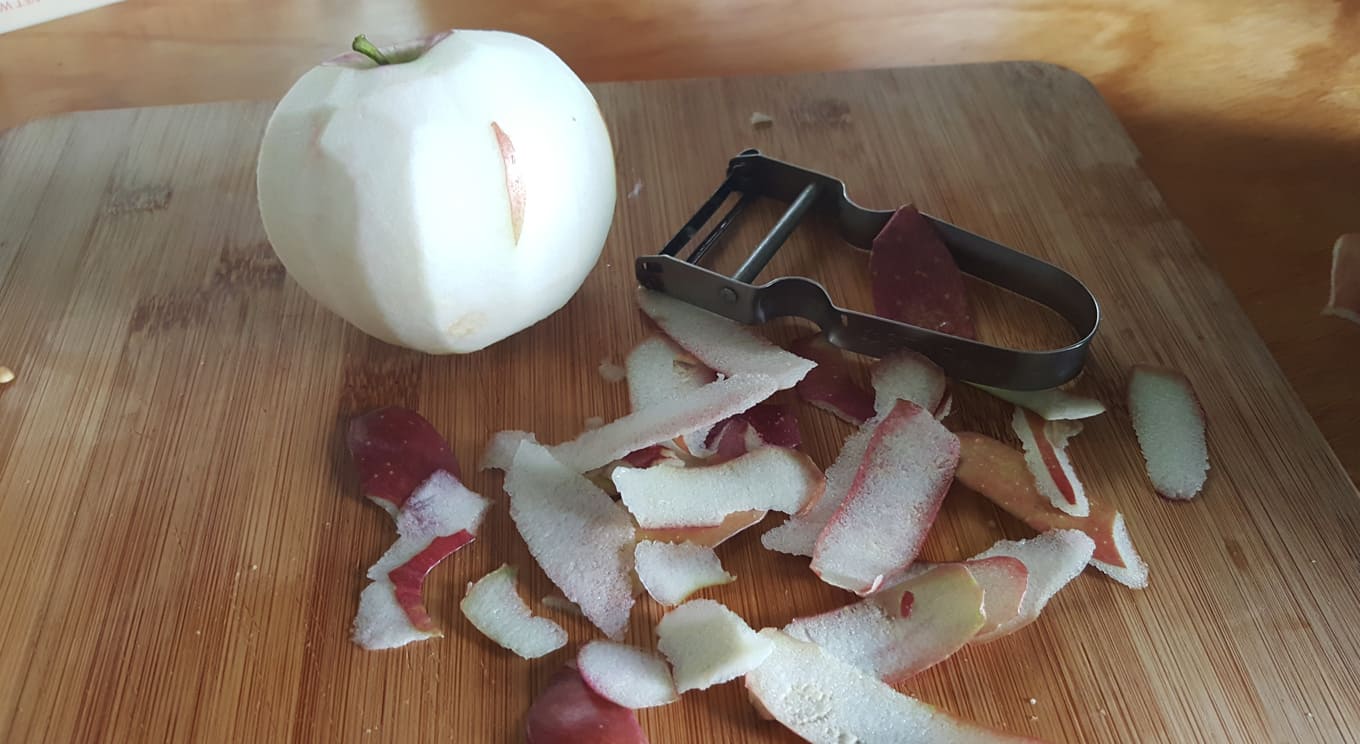 Step 2
Use a circular motion at the top and base of the apple to remove skin around the core and stem, then use vertical strokes to move around the exterior and eliminate the rest of the skin. Although this job can be tedious, a good tool helps you avoid frustration, and speed up the process. When using the recommended peeler, each apple will be ready in a matter of seconds, but other tools may take longer to achieve the same level of results. Once each apple has been peeled, simply set aside, and discard the skin.
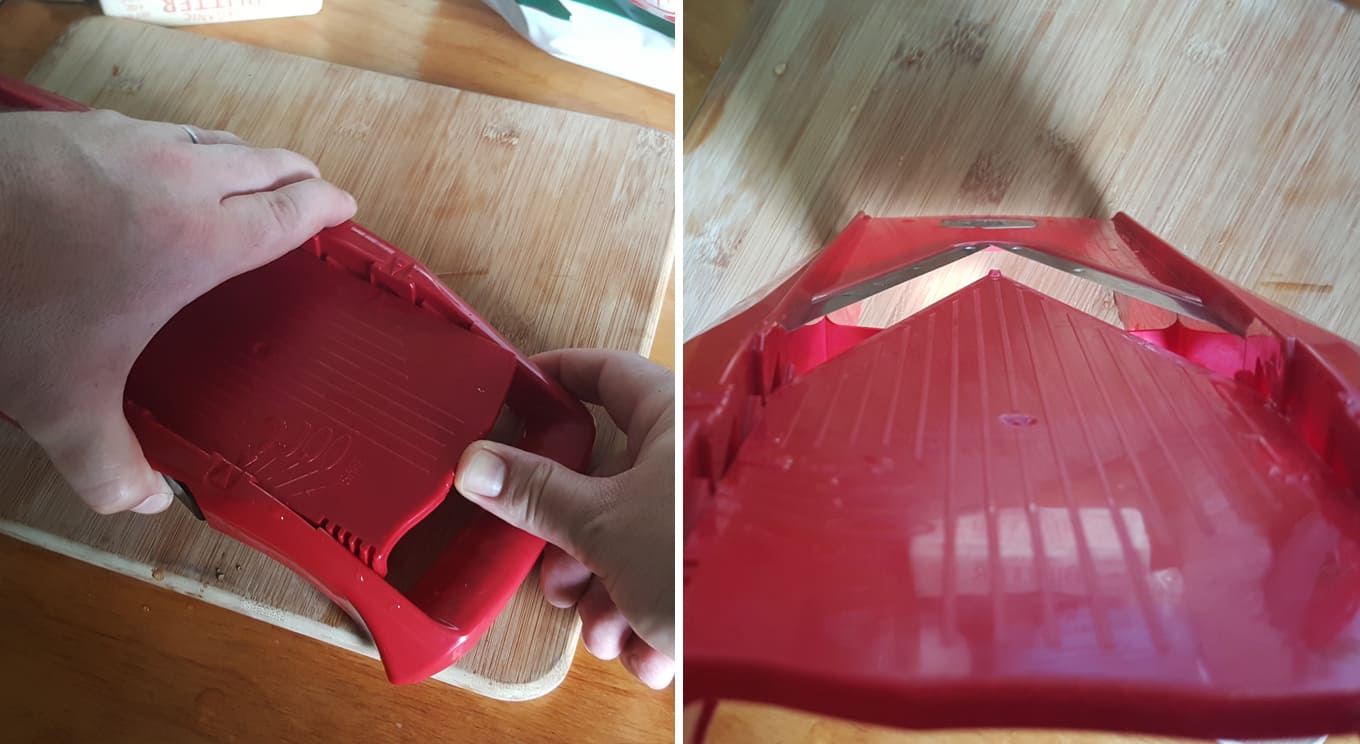 Step 3
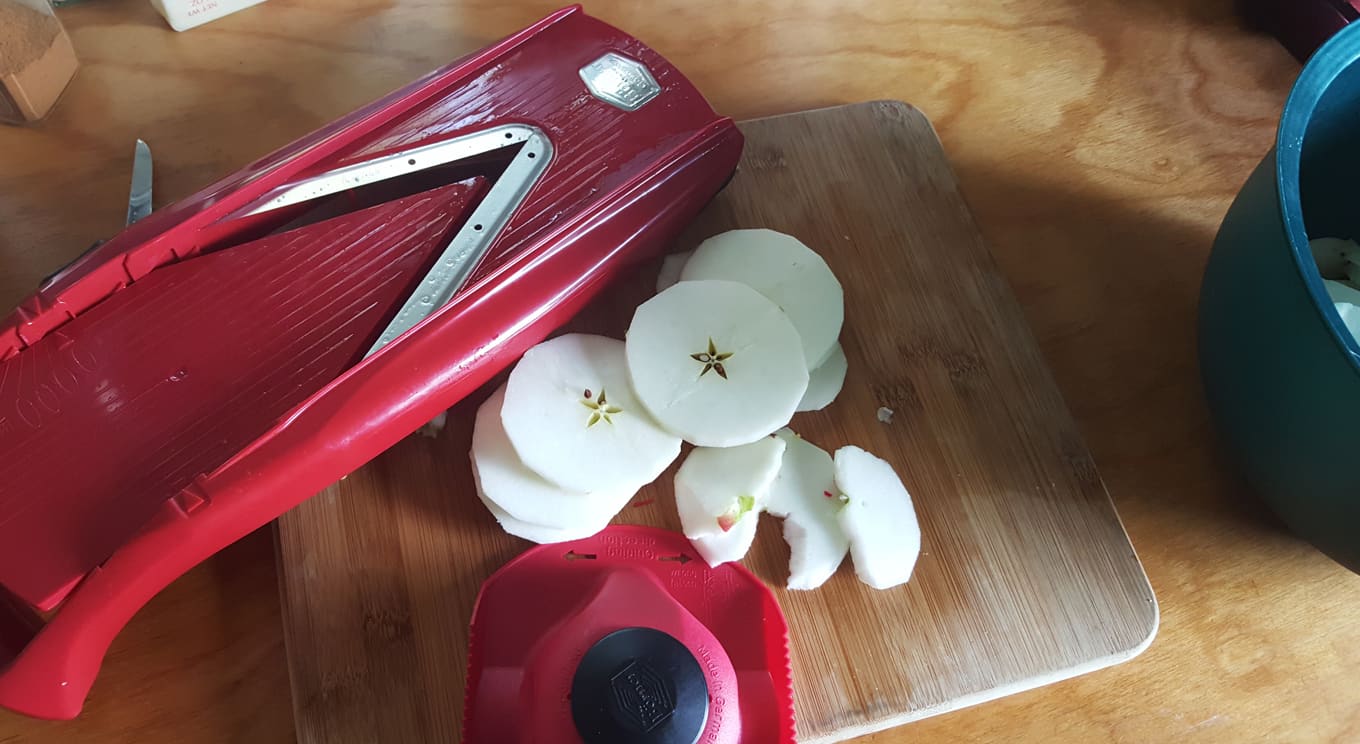
After skinning the apples, you’ll need to slice them. You can cut by hand with a knife, or use another tool to make it easier. In this example, we used a V-Power Mandolin slicer [2]to ensure even slices, and to cut them with lightning speed. To prepare for slicing, just press the button at the side, and the press the insert to set the desired slice thickness. Most people tend to agree that 1/4 inch is an ideal thickness, so just click to set the blade to that exact measurement.
 Step 4
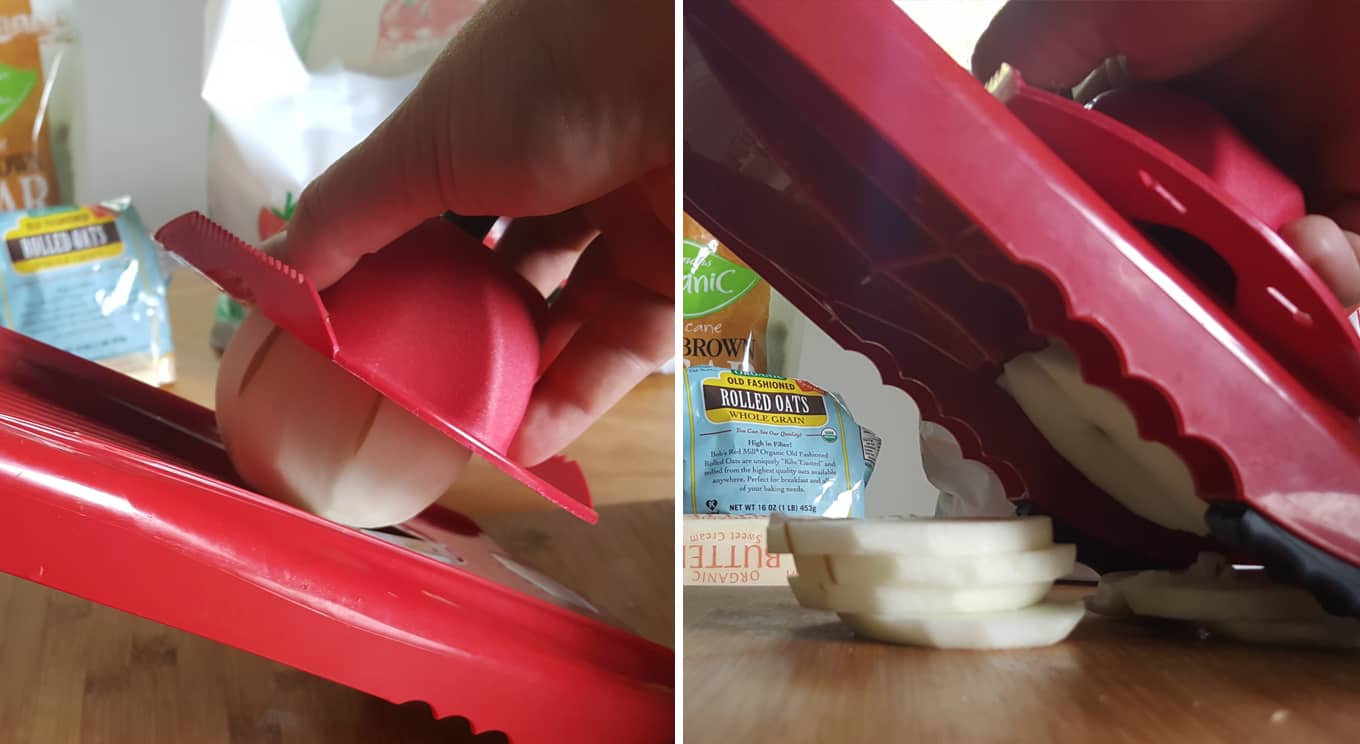
Once you have the slicer set up, take the safety holder and press it into the top of the apple to grab it. The spikes will skewer the fruit to hold it in place, and the plastic guard will allow you to cut with a quickness without any worry of losing a finger. Note the directional arrows on the underside of the holder, and for optimal performance, be sure to slide up and down according to the arrows while slicing.
 Step 5
To slice your apples, simply press down lightly against the surface of the slicer, and then slide down into the v-shaped blade. Continue pressing past the blade, and then slide back up to slice again. Keep cutting with an up-and-down motion until the whole apple is sliced. As each piece is cut, it will drop below the slicer, and the plunger on the holder will press out more fruit to be cut. Thanks to the shape and sharpness of the blade, you can quickly cut through the whole apple with little effort, and each one will be completely sliced in just a few seconds.
 Step 6
Continue slicing until all apples are cut, and then set aside. When pressing through the last piece of apple, use the side of the holder to nudge it through without risking injury, and to ensure that no fruit is wasted.
You may encounter some slices that still have seeds or pieces of stems stuck in them. If this is the case, just use a sharp and slender paring knife to pop them out, or cut out any section that is not edible.
 Step 7
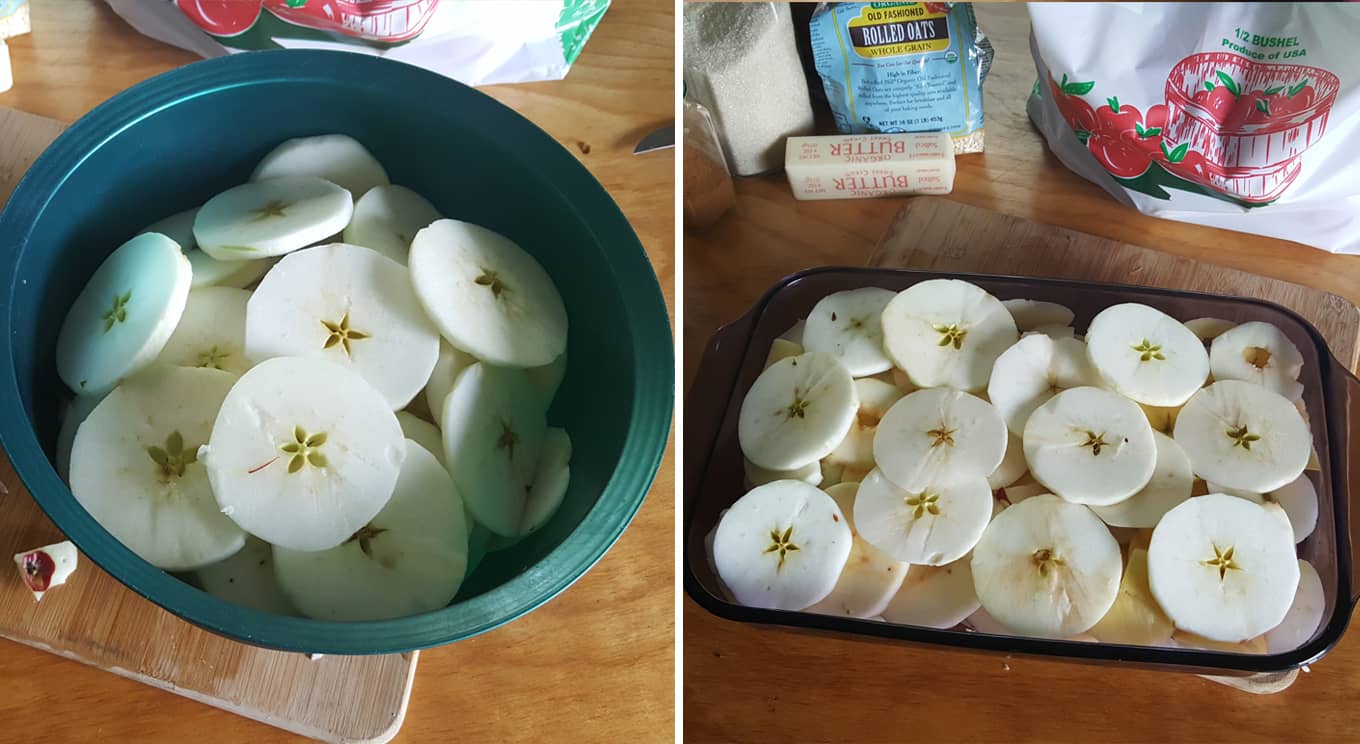
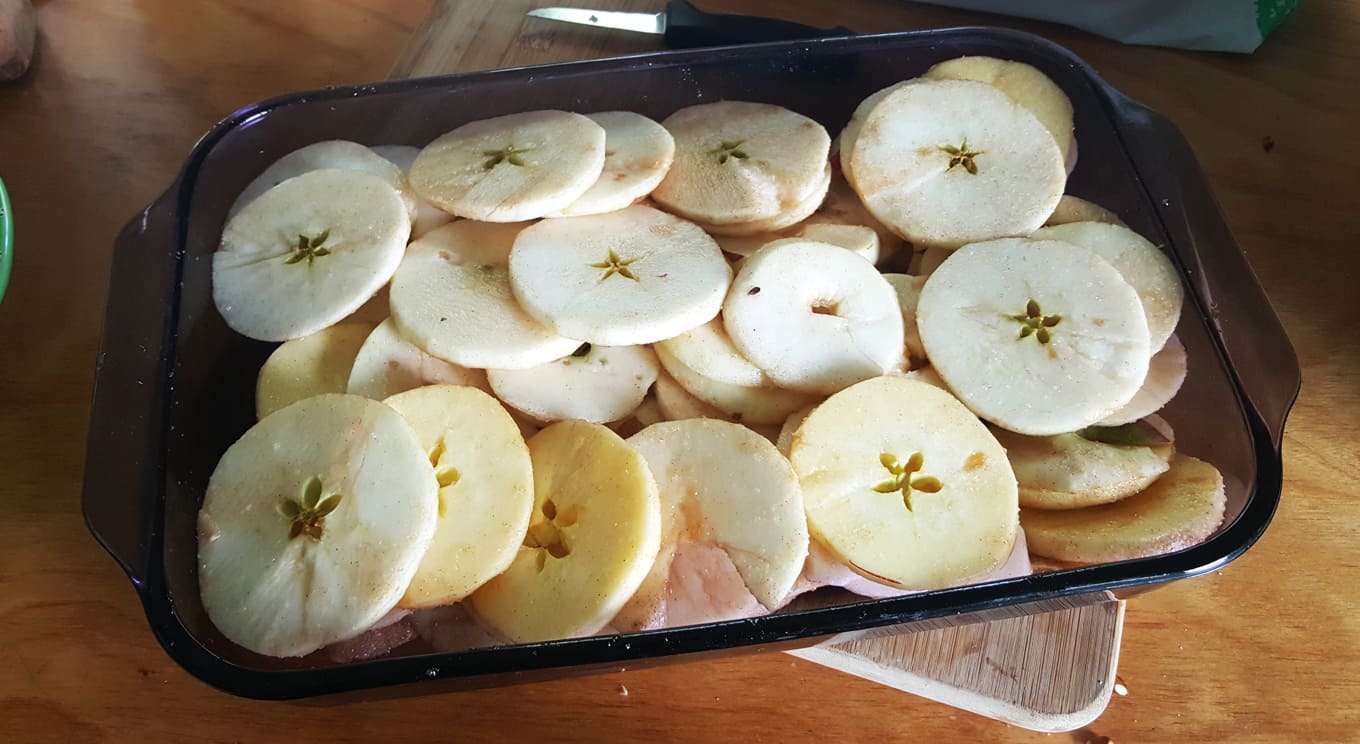
The recipe calls for 8-10 apples, but because they vary in size so much, the real measurement is not the number, but the volume. To ensure you have the right amount, just place the finished slices into your 9″ x 13″ pan to make sure they fill it up. You want it to be mostly full, but with some room for the topping. The picture above shows the approximate volume of apple slices that you’ll need. They will reduce some after baking, but not much.
 Step 8
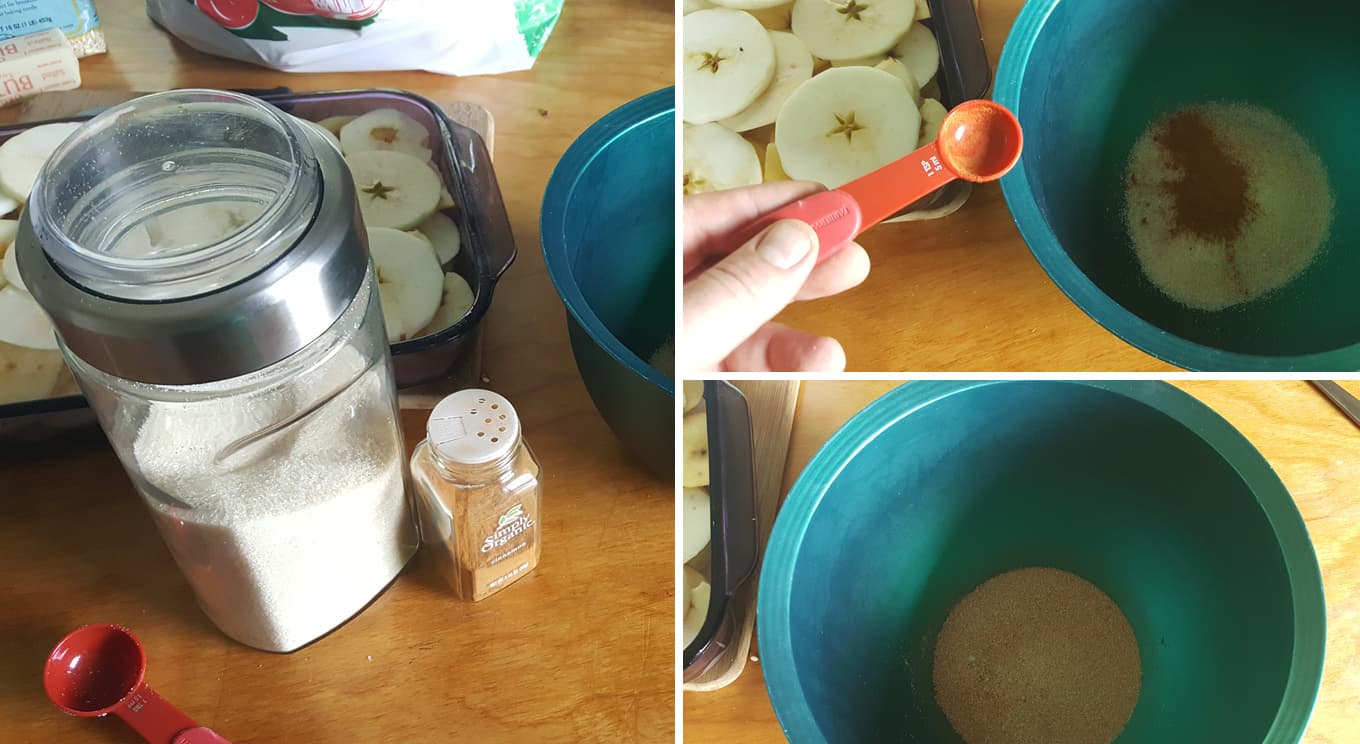
After your apples are peeled and sliced, it’s time to add some flavor. To give the filling that sweet cinnamon-y flavor that everyone loves, we’ll begin by adding some sugar and cinnamon as a coating on the slices. In a large bowl, pour in your white sugar and cinnamon, then mix together. It’s easiest if you use a bowl like the one pictured because having a lid will ease the process and improve the results. To mix quickly and evenly, simply place the lid on top, and then give it a few shakes.
 Step 9
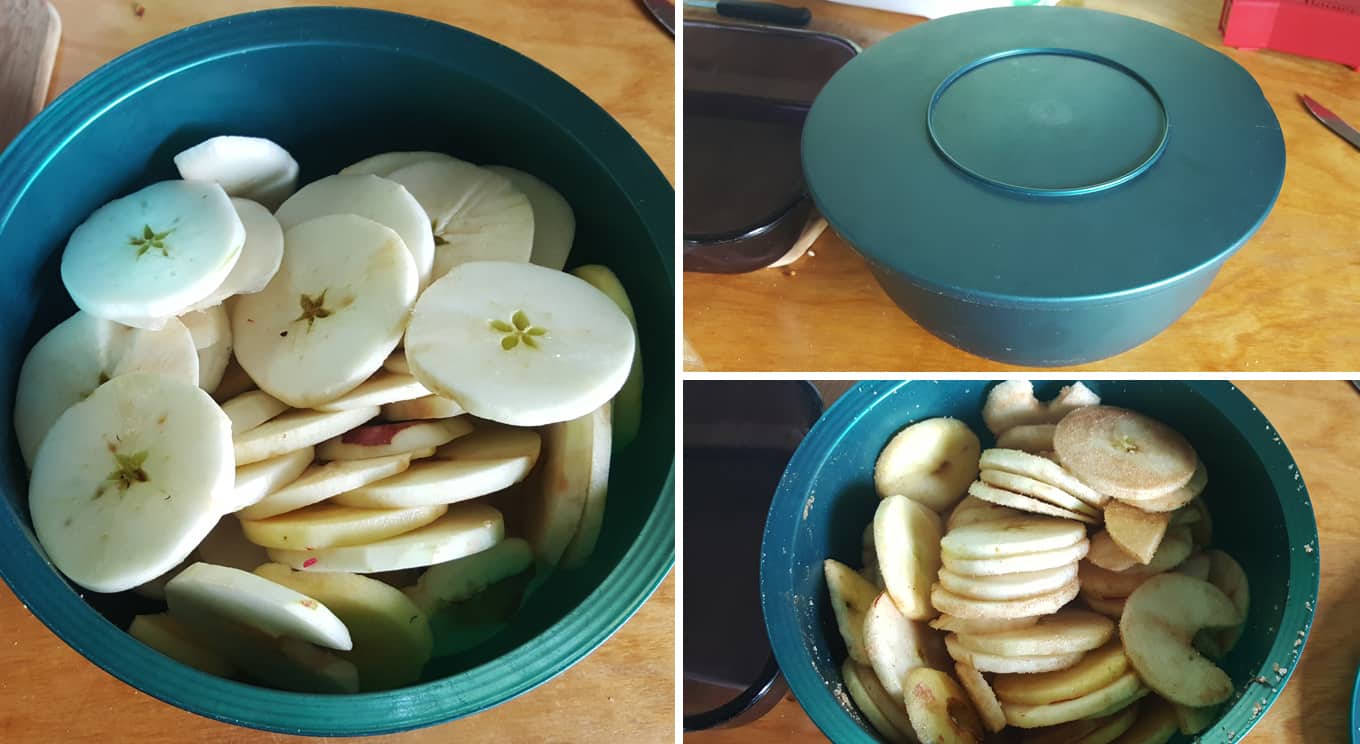
Once the flavor mixture is prepared, pile the fruit on top, and then secure the lid onto the bowl. Gently tumble the contents over and over to allow the sugar and cinnamon to coat every slice, and continue until nothing is left at the base of the bowl. Once complete, the apple should be lightly coated on all sides, and ready to go into the pan.
 Step 10
Place the prepared slices into a 9″ x 13″ pan and layer evenly.
 Step 11
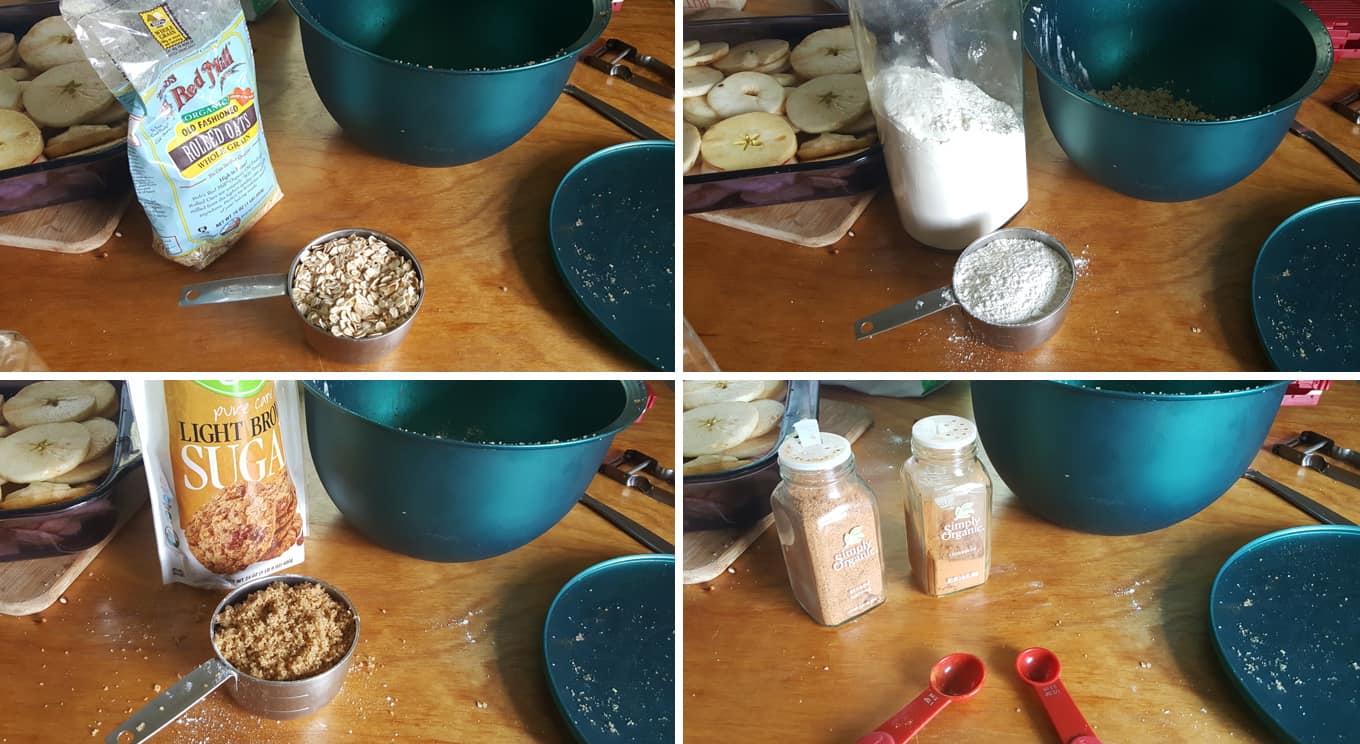
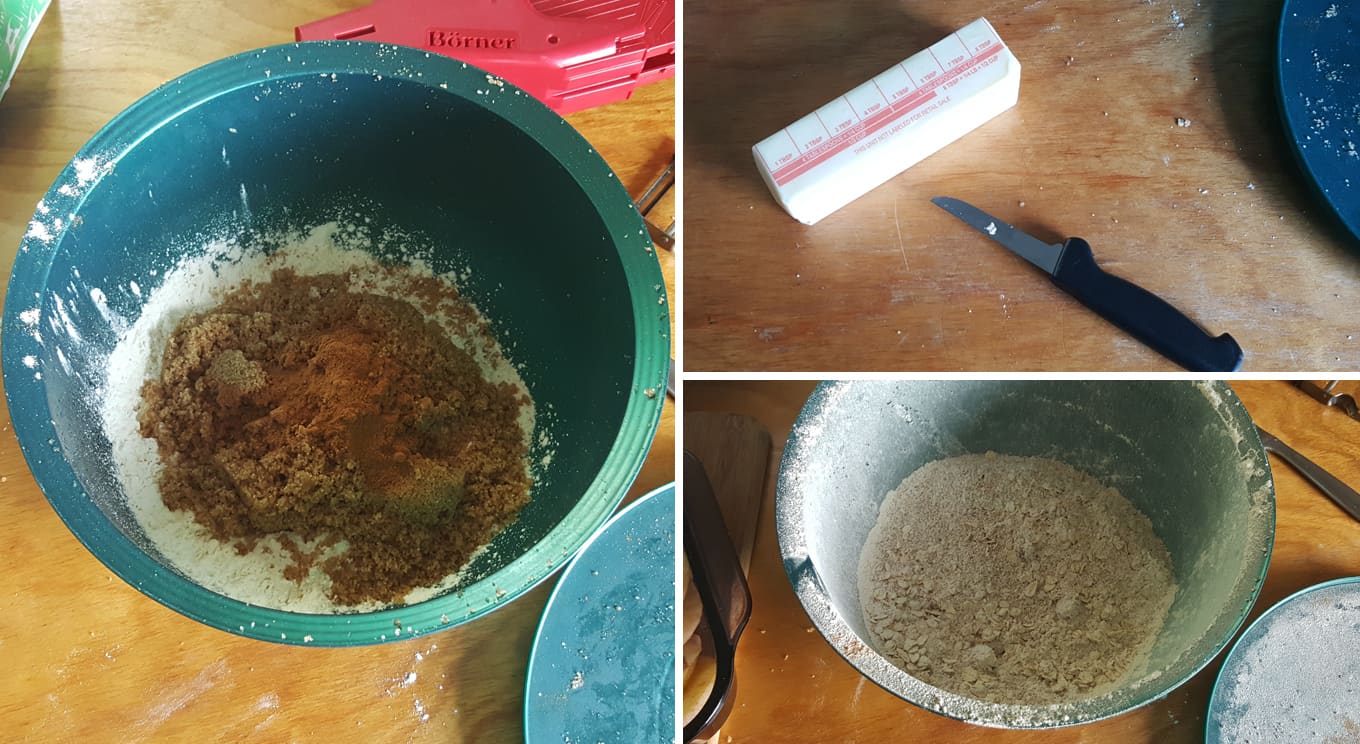
To make the crispy topping, begin by mixing together your dry ingredients. Place oats, flour, brown sugar, cinnamon and nutmeg into a large bowl.
 Step 12
Once all ingredients are in the bowl, put the lid on and shake to combine. After mixing, slice up your cold butter and at it into the mixture.
 Step 13
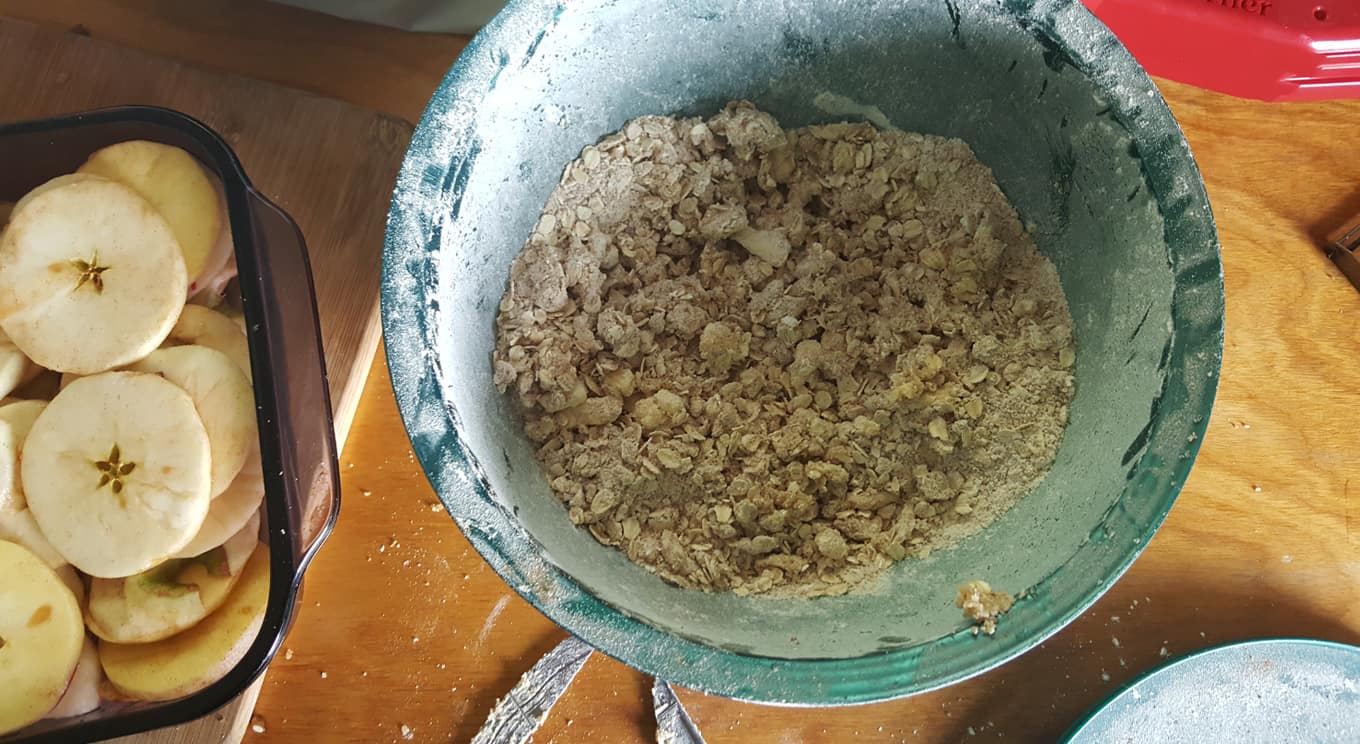
Use two butter knives to cut the butter into your dry ingredients, and continue chopping it until the butter chunks are pea-sized and evenly mixed with the oats and flour. When you get it mixed properly, it should look similar to the image above.
 Step 14
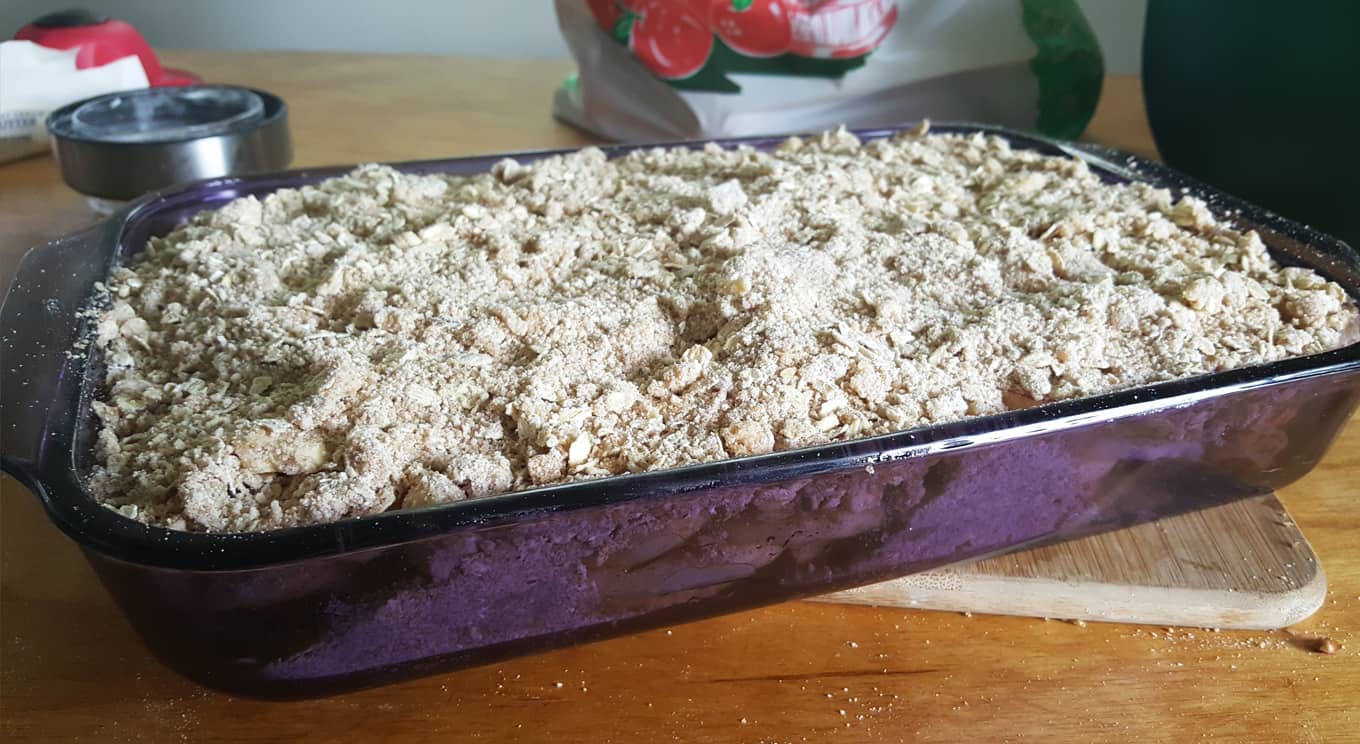
Once the topping is mixed up properly, pour it into the pan, over your apple slices. Make sure to spread it out evenly, and cover all surface area. After it looks perfect, take the dish and place into your pre-heated oven to bake.
 Step 15
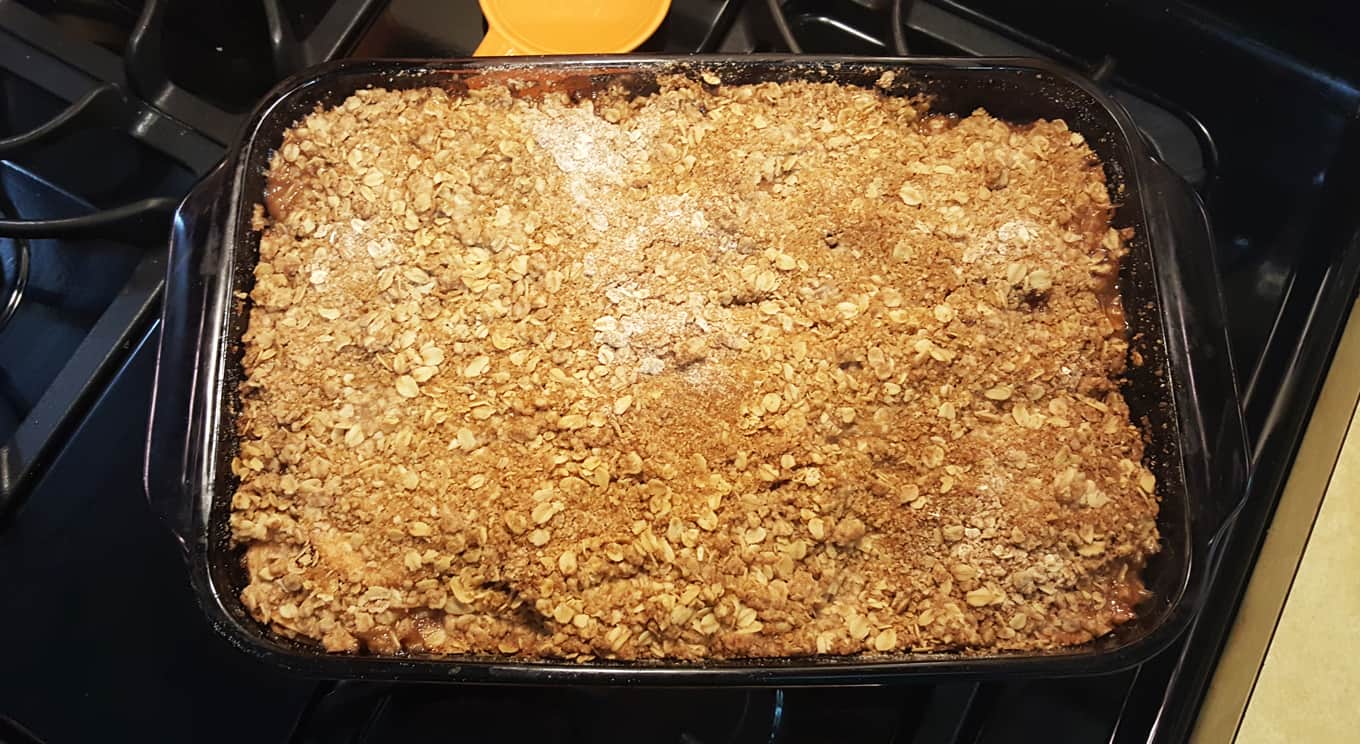
Bake at 350 for 40-60 minutes, and remove from the oven once the topping is golden brown, and the filling is bubbling up from beneath. The apples should be soft, but not mushy, and the crisp above it should be crunchy and not soggy. Let it stand for 10 minutes before serving.
 Step 16
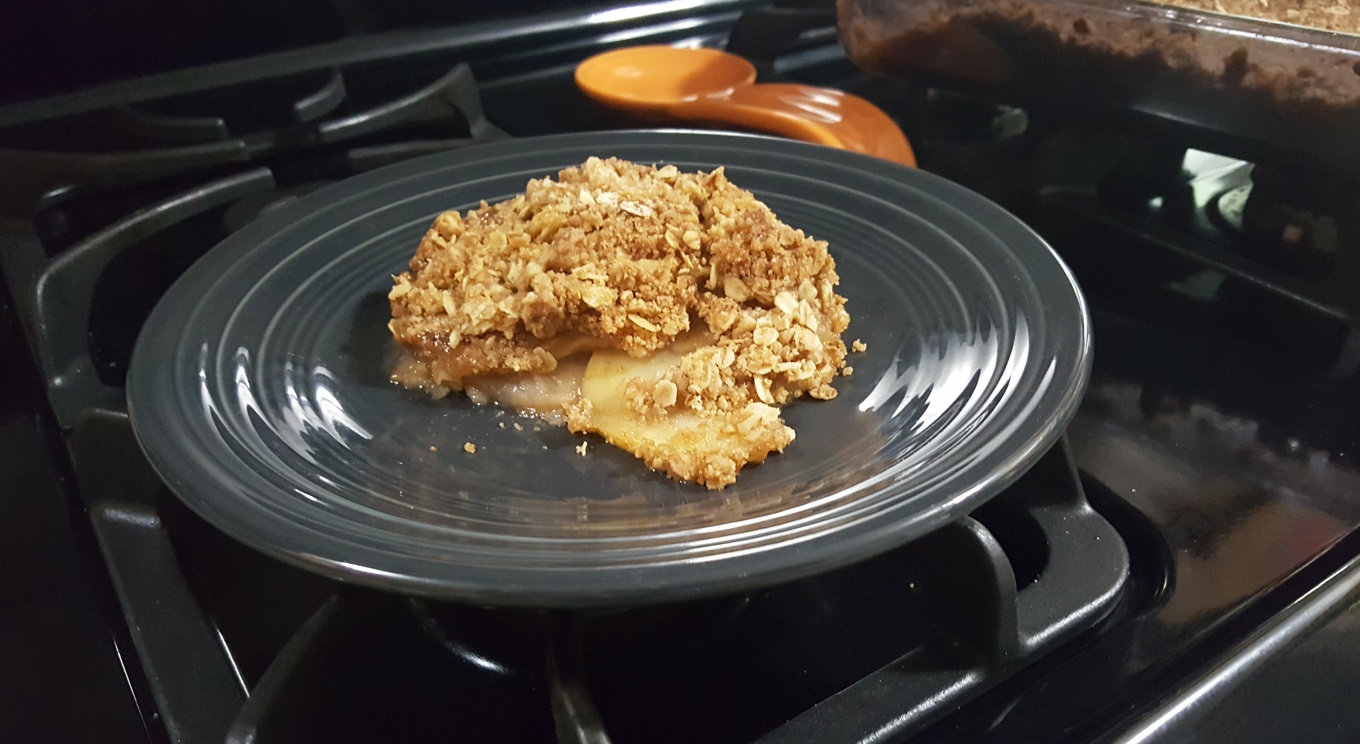
Just scoop it out to serve, and enjoy the tender apples and flavorful crisp. It can be enjoyed at room temperature or cold from the refrigerator, but many prefer it warm from the oven, and with a side of vanilla ice cream. The sweet and crunchy topping is the perfect compliment to the slightly tart apples layered underneath it, and this simple dessert is an ideal treat to follow savory dinner-time flavors.
The perfect fall desert, this ALL Star Apple Crisp recipe is sure to make lifelong fans of friends and family members. With simple steps and only a few ingredients, you can easily turn locally sourced, hand-picked fruit into a delicious treat that anyone would enjoy. Save time by using tools recommended in the steps above, or just follow the recipe using tools you already have to create the same great tasting dessert with a little more effort.
Have your own tips or techniques for making similar dishes? Share them in the comments section below.
Gave it a try and want to share the results? We would love to hear all about it. Add your comment below to let us know how it went. Good or bad.
Prefer a different dessert made with freshly picked apples? Spread the wealth and share below.