Did you trim too close to the edge and break off one of the spinning things that hold the line?
Did one or more of the rotating eyelets wear with age and repeated use?
Whatever the reason, if you use a pivoting trimmer head on a regular basis, you’ll probably have to replace the posts in order to fix it when it’s broken, or perform routine maintenance at the end of the season. These inexpensive parts do get old, or break in some cases, but they’re easy to replace, so you can avoid buying a whole new head when they go bad by switching out for a new set.
If you have the original PivoTrim, the PivoTrim Pro, or any of the branded versions sold at popular stores like Lowes and Home Depot, the steps will be similar to replace the posts. It doesn’t matter if they’re red, green, orange or yellow because they only come in a couple of sizes, certain colors will be interchangeable, and the replacement process should be very similar from one head to the next.
How To Replace The Posts
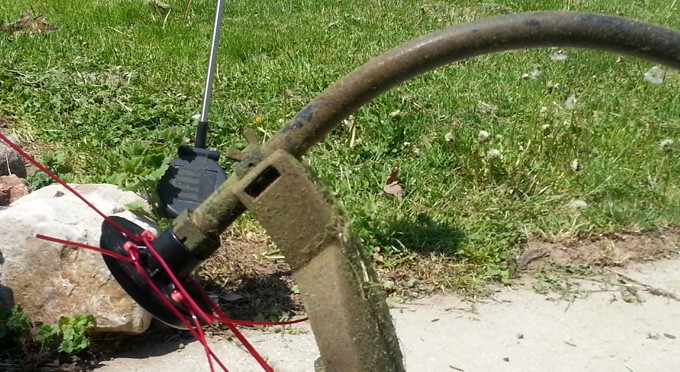
In the demonstration that follows, we use heads that are not installed on a trimmer to make it easy to see the process. You DO NOT have to remove the head in order to replace the posts. It will be just as easy to do it with the head still in place, so save yourself time and effort by leaving it installed. To ease the process, you may want to position the trimmer so that the pivot head is facing up, but beyond that, you shouldn’t have to do anything special.
Stuff You’ll Need
You only need a couple of items to complete this job, but both are essential. All of these heads are manufactured in a similar way, and they are essentially a top and bottom, secured by Philips head screws. You’ll need a proper tool to separate the two halves, and you’ll need a set of new parts to replace the old ones you’ll be taking out. The pro version does take a larger size post, but the regular PivoTrim, and most of the store brand versions, use the smaller size post.
- Screwdriver
- Set of replacement posts.
Step 1: Same, But Different.
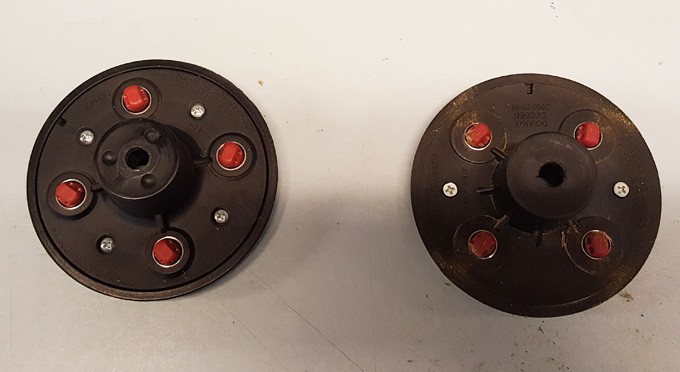
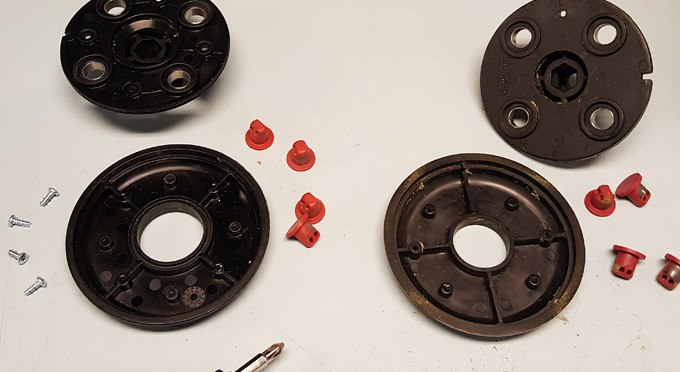
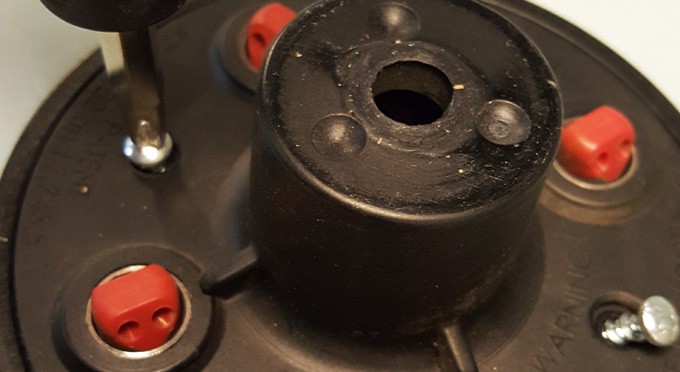
Even amongst regular PivoTrims, there is some difference in design based on the age of the trimmer head. This is also the case for the Pro version, and any other similar pivoting trimmer head. In the example we show a four screw version and a two screw version of the original PivoTrim, but any other similar head should be pretty close in design. The screws hold the top piece and bottom piece together, and the posts rotate freely inside the case. In order to remove what’s there, and install a new set, you’ll have to separate the top and bottom.
If your head looks like one of the two pictured above, then you can follow the instructions exactly. For other similar versions, this guide should be close enough to help you figure out the exact steps required in your case.
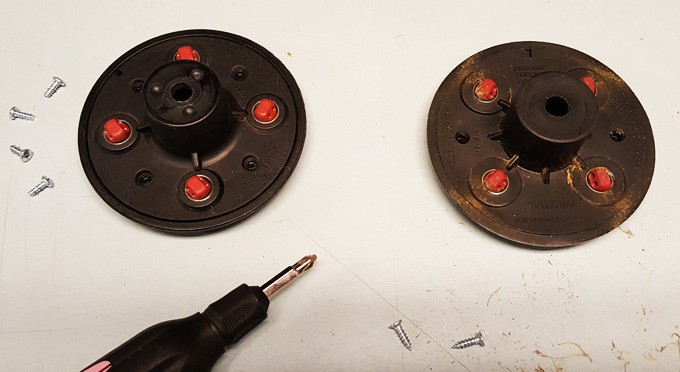
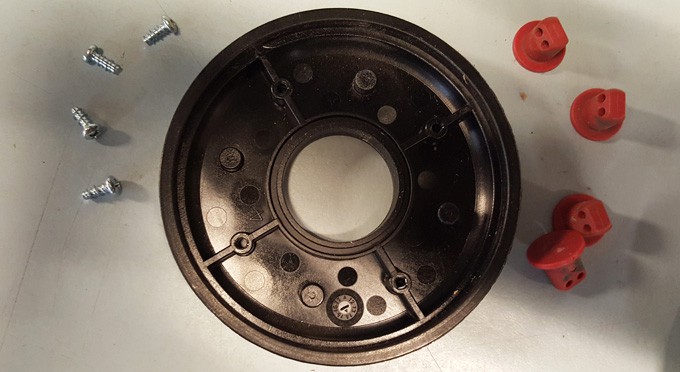
Step 2: Remove The Screws.
In order to take the head apart, and remove the old posts, you’ll need to use your Phillips head screwdriver to remove the screws. You may find two or four screws on the top side of the trimmer head, but number doesn’t matter, just remove any screw you see.
Step 3: Open It Up.
Once you loosen and remove the screws, you should be able to pop open the case. In most situations, the two parts will just fall apart, but you may need to pry a little to break them loose. After the top and bottom are separated, you’ll be able to slide each post out of the hole where it rests.
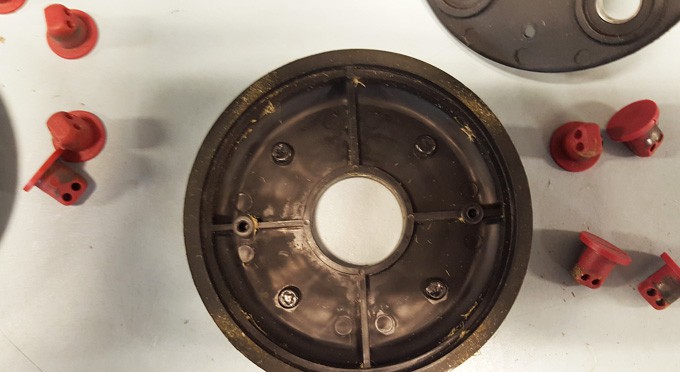
Step 4: Clean It Out.
Before installing the new posts, or putting the head back together, you should inspect the interior. Make sure there are no pieces of plastic or plant matter left inside, and be sure to clear out anything you find. In order to ensure proper function of the head, and maximum destruction of the weeds you encounter, the little red string holders need to be able to spin around without obstruction.
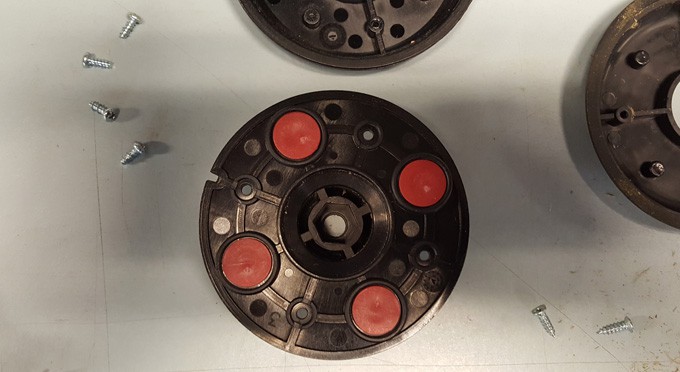
Step 5: Install The Posts.
There are four large holes on the top side of the head, and this is where you insert the posts. If the head is off the trimmer, it is easiest if you flip the lid upside-down. Because there is nothing to hold them in place, and because they move freely inside their resting place, they also slip out easily, and can cause frustration as you try to put everything back together again. For this same reason, if the head is still on your trimmer, you may want to kind of flip it over as you install the new parts.
Step 6: Close It Up.
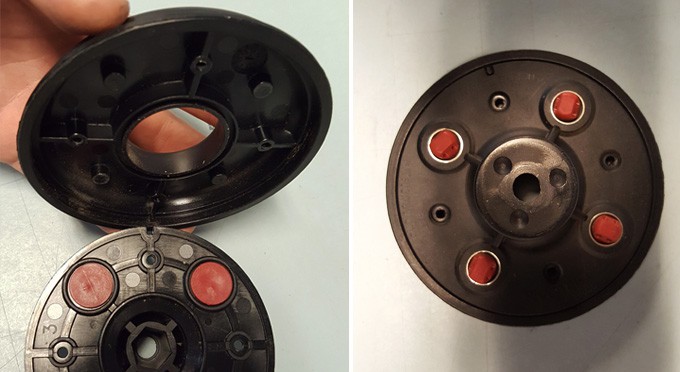
After you have the four replacement posts in place, you can grab the bottom piece, and position it over the top piece. You will notice that the lid has a small notch, and the base has a small tab. Line these two parts up, and then combine the two parts together. If lined up correctly, it should close up easily and feel secure.
Once closed, you can flip it over to inspect the job. The black casing should come together flawlessly, and the posts should all be sticking out the same amount so that it looks similar to the picture above.
Step 7. Finish The Job.
Once everything looks right, you can put the screws back in and tighten them in place. With the screws installed properly the replacement process is complete, and it’s time to re-load the trimmer head. Take four, one foot sections of pre-cut line and stick the ends through the holes in the red posts. As the ends poke through the hole, pull out the other end and pull tight. Do this for all four posts and you’ll be ready to start your trimmer and tackle those overgrown weeds.
Start to finish, this job will take most people a handful of minutes. It’s very simple, and anyone with a screwdriver can do it. Although these little parts are pretty sturdy, and designed to last a long time, they may wear with use, and they can break by accident. Thanks to a quality design, this weak point is easily replaceable, so you can avoid buying a new trimmer head when one fails. Leave the larger bills in your pocket, and avoid the hassle of replacing the whole head by fixing the problem with an affordable part, and five minutes of your time.


 Ordering Info
 Customer Service
 Follow Us
 Search For Stuff
 Find Us
 Call Us
 Pay Us
0 Comments so far.
Use the form below to add your own thoughts or questions. Scroll down to read what other people had to say.